آموزش ساخت ماشین حساب با javascript
در این مقاله از سری مقالات بخش آموزش جاوا اسکریپت ، سعی بر آن داریم تا بتوانیم آموزش ساخت ماشین حساب با javascript را از صفر تا صد با منطق الگوریتمی توضیح دهیم. تا پایان مقاله همراه ما باشید.
مقدمه ماشین حساب
از قدیم به یاد دارم که در هر زبانی، مخصوصا c++ و basic یکی از تمرین های اصلی و سخت برای بچه ها ، ساختن ماشین حساب بود. بطوری که برخی از استادان به ما میگفتن که هر کسی در هر زبانی، یک ماشین حساب قدرتمند بنویسد، آن زبان را فرا گرفته است!
البته امروزه تعریف و کاربرد زبان های برنامه نویسی بسیار تغییر کرده و پیچیدگی های فراتری از ماشین حساب پیدا کرده اند، اما باز هم از ارزش نوشتن منطق ماشین حساب کم نمیکند.
دو نمونه ماشین حساب کامل
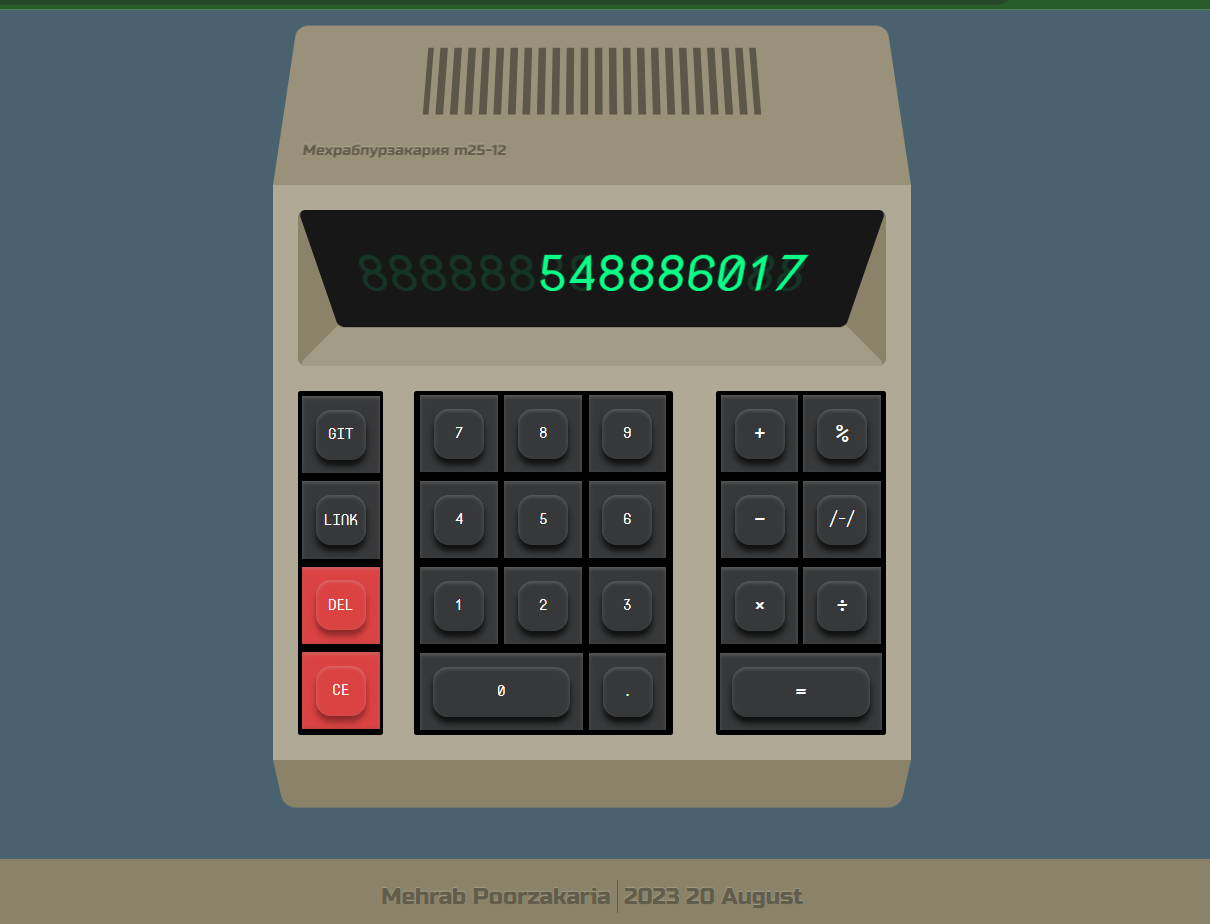
در کلاس های آموزش طراحی سایت مدرسه پرنیان ، دو تن از دانشجویان کلاس به نام محمد محراب پورذکریا و امیر محمد معصومی توانستند دو ماشین حساب کامل را با زبان جاوا اسکریپت کد نویسی و آماده کنند.

کد ماشین حساب با جاوا اسکریپت محمد محراب پورذکریا را از طریق لینک زیر دانلود کنید.

ماشین حساب با جاوا اسکریپت
کد ماشین حساب با جاوا اسکریپت امیر محمد معصومی را از طریق لینک زیر دانلود کنید.
میتوانید کد سورس آن ها را دانلود کرده ، بخوانید و از کد های آن بهره مند شوید.
امیدواریم از این مقاله نهایت استفاده را برده باشید و آن را با دوستانتان به اشتراک بگذارید. تیم تولید محتوای مدرسه اینترنتی پرنیان این مقاله را تهیه کرده است.


دیدگاهتان را بنویسید